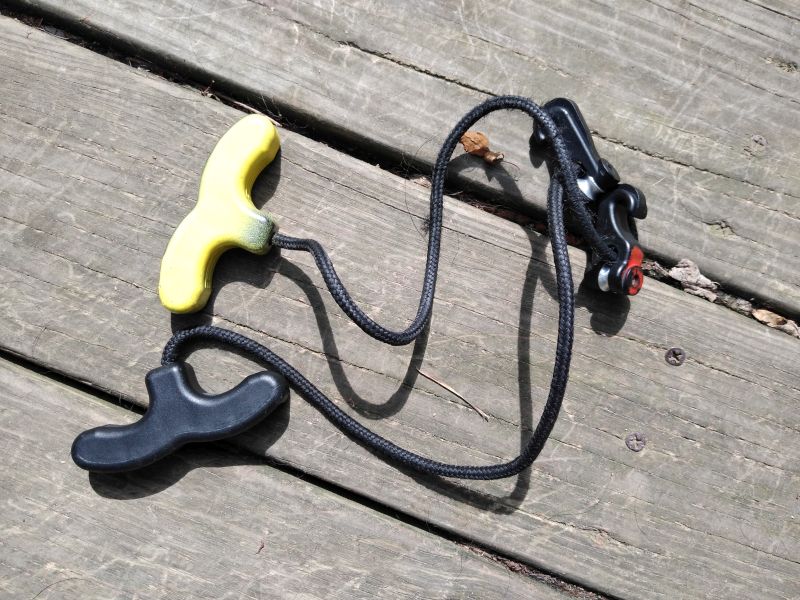

Some crossbows require the hooks on the cocking device facing up, while others require the hooks to be facing down, and others don't care. Paint one of the cocking device handles. That way when you pick up the the cocking device you have it originated the right way, for me I painted the left handle. You can see some red on one of the hooks, I had marked the up side that way years ago using nail polish, but that takes a bit more fumbling with the device. The painted handle works faster.
Also the painted handle helps you find the device if you drop it in the woods. |
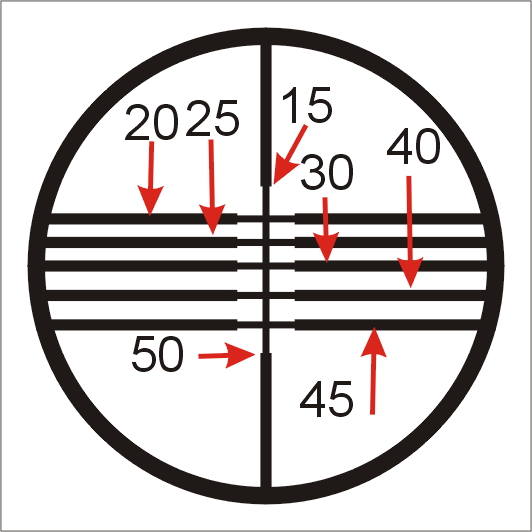
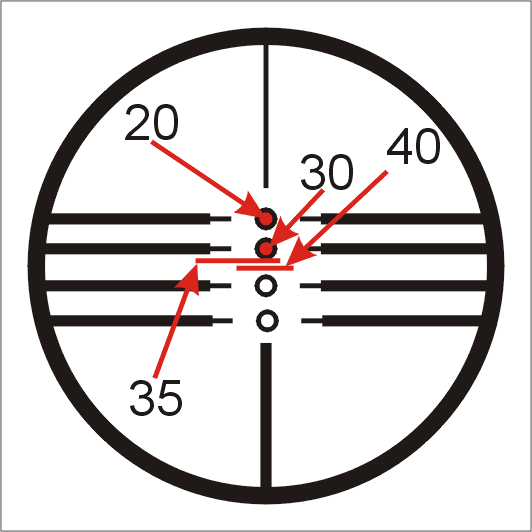
“I have my scope sighted in at 20 yards but at 30 yards the next line down is way high. I adjusted it for 30 yards and now the 20 yard line is off.”I see statements like that all the time on different forums. Furthermore there are statements on multiple websites that state the once you have the top line or dot of the scope at 20 yards each line or dot below is set at 10 yard increments. I believed that statement when I purchased my first crossbow, after all if it's on the internet it must be true. If your scope does NOT have a speed ring adjustment the lines/dot will not always be exactly 10 yard increments. The two scopes that came on my crossbows were not exactly 10 yards. The slower bow the lines worked out to 5 yards each or thereabouts. The faster one the lines worked out to 10 yards apart for the first two lines and then things went way off, see the images below. When I purchased a new scope with a speed ring for my faster bow and moved the its old scope to the slower bow did things start to line up for the slower bow. So what do you need to do if your scope does not have a speed ring? Here is my suggestion:
When you make changes to your setup e.g. different arrows, broadheads, age of the string, or just time, you should go through the process again just to make sure things are on target.
|